DbContext in Entity Framework Core
The DbContext class is an integral part of the Entity Framework.
An instance of DbContext represents a session with the database which can be used to query and save instances of your entities to a database.
DbContext is a combination of the Unit Of Work and Repository patterns.
DbContext in EF Core allows us to perform the following tasks:
- Manage database connection
- Configure model & relationship
- Querying database
- Saving data to the database
- Configure change tracking
- Caching
- Transaction management
To use DbContext in our application, we need to create a class that derives from DbContext.
Let's create a context class that derives the DbContext class, as shown below.
public class SchoolContext : DbContext
{

}
The above SchoolContext class derives the DbContext class. It can be called a context class.
This is an empty context class that does nothing. First of all, let's define entities here.
We created the Student and Grade domain classes in the Create Entities chapter.
We can turn domain classes into entities by specifying them as DbSet<TEntity> type properties.
This will allow Entity Framework to track their changes and perform CRUD operations accordingly.
public class SchoolContext : DbContext
{
    public DbSet<Student> Students { get; set; }
    public DbSet<Grade> Grades { get; set; }
}
The DbSet<TEntity> type allows EF Core to query and save instances of the specified entity to the database. LINQ queries against a DbSet<TEntity> will be translated into queries against the database.
EF Core API will create the Student and Grade table in the underlying SQL Server database where each property of these classes will be a column in the corresponding table.
Configure Database Connection
We have specified entities as DbSet<TEntity> properties, but we haven't specified the database name and database server info yet.
We can override DbContext's OnConfiguring() method to configure the database and other options to be used for this context.
This method is called for each instance of the context that is created.
Let's override the OnConfiguring() method in the context class, as shown below.
public class SchoolContext : DbContext
{
    //entities
    public DbSet<Student> Students { get; set; }
    public DbSet<Grade> Grades { get; set; }

    protected override void OnConfiguring(DbContextOptionsBuilder optionsBuilder)
    {
        base.OnConfiguring(optionsBuilder);
    }
}
Above, base.OnConfiguring(optionsBuilder) calls the base implementation, which does nothing.
We can remove it and specify a connection string for the database in the OnConfiguring(), as shown below.
public class SchoolContext : DbContext
{
    //entities
    public DbSet<Student> Students { get; set; }
    public DbSet<Grade> Grades { get; set; }

    protected override void OnConfiguring(DbContextOptionsBuilder optionsBuilder)
    {
        optionsBuilder.UseSqlServer("Server=(localdb)\\mssqllocaldb;Database=SchoolDb;Trusted_Connection=True;");
    }
}
In the above code, the optionsBuilder.UseSqlServer() is an extension method used to configure EF to use SQL Server as the database provider by specifying a database connection string.
The string "Server=(localdb)\\mssqllocaldb; Database=SchoolDb; Trusted_Connection=True;" is a connection string to a database which we will communicate with. EF API will create the specified database if it does not exist.
You can specify a connection string in multiple ways. You will learn it later.
The DbContext class also allows you to override the OnModelCreating() and ConfigureConventions() methods to configure the database model and default conventions of EF Core.
Visit how to configure a DbContext class for more info.
Check DbContext's methods and properties for more info.
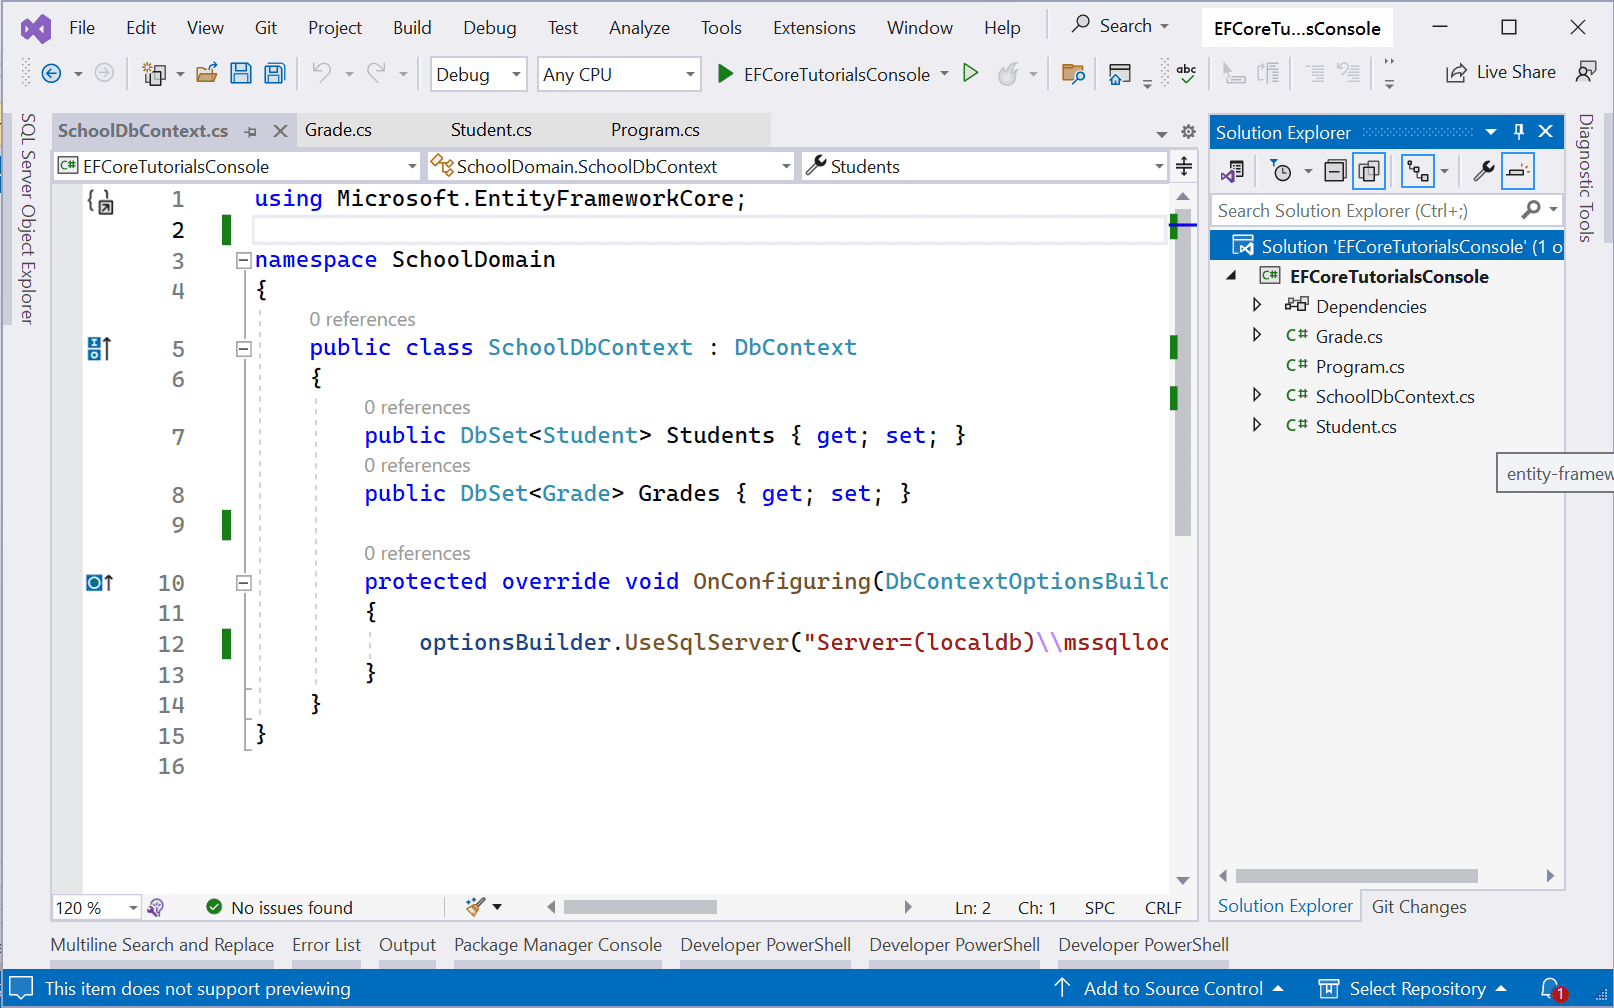
At this point, our project contains three files, Program.cs, Student.cs, Grade.cs, and SchoolDbContext.cs, as shown below.
Let's learn how to use the context class and entities to create the database on the fly and perform CRUD operations in the next chapter.
